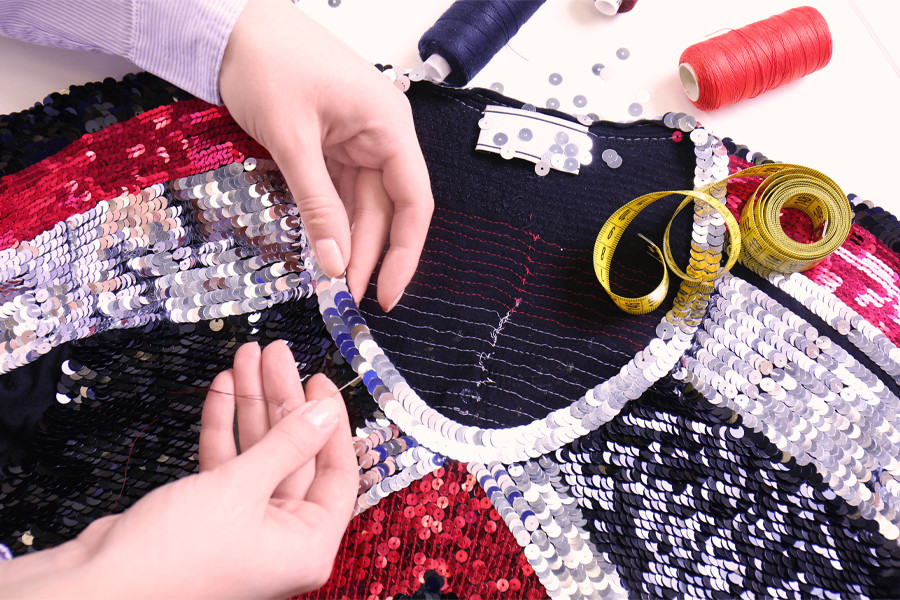
One way to strategically elevate the sparkle and creativity of any garment is through the use of sequins. Moreover, these tiny disc-shaped ornaments can significantly enhance the glamour of clothes and accessories.
However, it takes incredible patience to sew sequins piece by piece, especially on considerably sized garments. Sequin trims offer an easier option to integrating these decorative elements into clothing, and we're here to teach you how to sew them with a machine successfully.
Sequins can be found on many kinds of dance wear including sequin gowns, sequin fringe dance dresses and many more.
GATHERING OF MATERIALS
Before you begin, make sure you have completed all the necessary tools for the process. This includes sequin trims you plan to attach to your garment, solid and sharp needles, invisible or colored thread, sewing pins, and a sewing machine.
Since you need something that can successfully go through sequin confetti, thin beading or size ten needles should do the job. With that in mind, avoid using ballpoint needles in sewing sequins as they are not sharp enough to pierce through them.
As for the thread, the color depends on what you want your sequence to look like. You can either choose transparent, white, or any color that matches your sequence or cloth.
For the particular methods to be discussed, it is also recommended to have a sewing machine capable of performing a zigzag stitch.
POSITION SEQUIN TRIM
To achieve a neat and orderly design, smoothen out the sequin trim and make sure that all pieces are facing upwards. Once you have done that, place the pre-strung sequins directly on top of where you want them on your clothing—securing sewing pins to ensure that the pieces will be sewn smoothly and firmly.
In the event that you don't have access to sewing pins, anchor the ends of the trim by manually sewing or gluing them.
SET STITCH LENGTH
Set your sewing machine to the widest zigzag stitch. You should also make sure that you have adjusted the stitch length to what fits your design. In determining so, you can run trials on a scrap piece of fabric. Nonetheless, the longest length, which can reach up to 5-7 millimeters depending on the machine, is recommended.
START SEWING
Carefully lower the sewing machine atop the sequin trim. Next, you will start sewing from beside where two sequins overlap. This method will secure the sequins and keep them in place.
Moreover, there are two ways to execute this method: using either the handwheel or foot pedal.
Using the handwheel
This technique is a relatively slow process as you have to carefully avoid puncturing the sequin confetti. Begin sewing from the outside, where two sequins overlap, and cautiously go over the overlapping section while moving towards the lower right. Repeat the process as you go to the left and then right again, creating a zigzag with your thread. Do this until you reach the bottom of the sequence, lifting up the presser foot to make some adjustments in the fabric.
Using the foot pedal
Compared to the handwheel technique, using the foot pedal will be a quicker process. Although you will most likely be puncturing through the sequin confetti, the chances of them breaking are low if you carry out the process carefully. If you choose this method, using a sharper needle is ideal.
With the exact technique, you will begin at the section beside where two sequins overlap and move towards the lower right and then left to make a zigzag. Repeat the process until you reach the end of the sequence.
STRAIGHT STITCH
If you opt for a straight stitch in attaching your sequin strips, begin by either pinning or gluing your sequence in place. Make sure that the edges are positioned right side up for a smoother outcome.
The size of the needles for this method is preferably 14 or 15. Since you will be piercing through the sequin confetti and dulling the needles, replace them after use. Similar to the zigzag form, set the sewing machine to a long stitch length.
Keeping it steady is vital for optimal results as you will be sewing through the center of each sequin confetti.
OTHER TECHNIQUES
If you do not have access to a sewing machine, we have other options you should consider:
Sewing sequin trim by hand
This method will come in handy if you plan on creating complicated shapes out of your sequin strips.
Start the process by anchoring the end or both ends of a strip on the fabric. For this technique, you will be sewing in between the gaps of the sequins, making consistent loops with your thread.
If you create a circle or any figure similar to that, tie both ends of the trim together. If not, sew the tail in place similar to how you anchored in the beginning.
Gluing on the sequin trim
If you don't want to commit to sewing your trims to your garments, glue is a wise choice. The material for this method is preferably hot glue, tacky glue, or fabric glue. Moreover, school glue or any material similar to that will only cause sequin trims to fall off. Begin by marking where you want your pre-strung sequins to be positioned and firmly secure them in place with glue.
Overall, sequins are a more affordable way of adding sparkle and glitter to any fabric. While the process needs a lot of patience and care, the outcome makes everything worth it
 USD
USD
 EUR
EUR
 AUD
AUD
 GBP
GBP
 SGD
SGD

